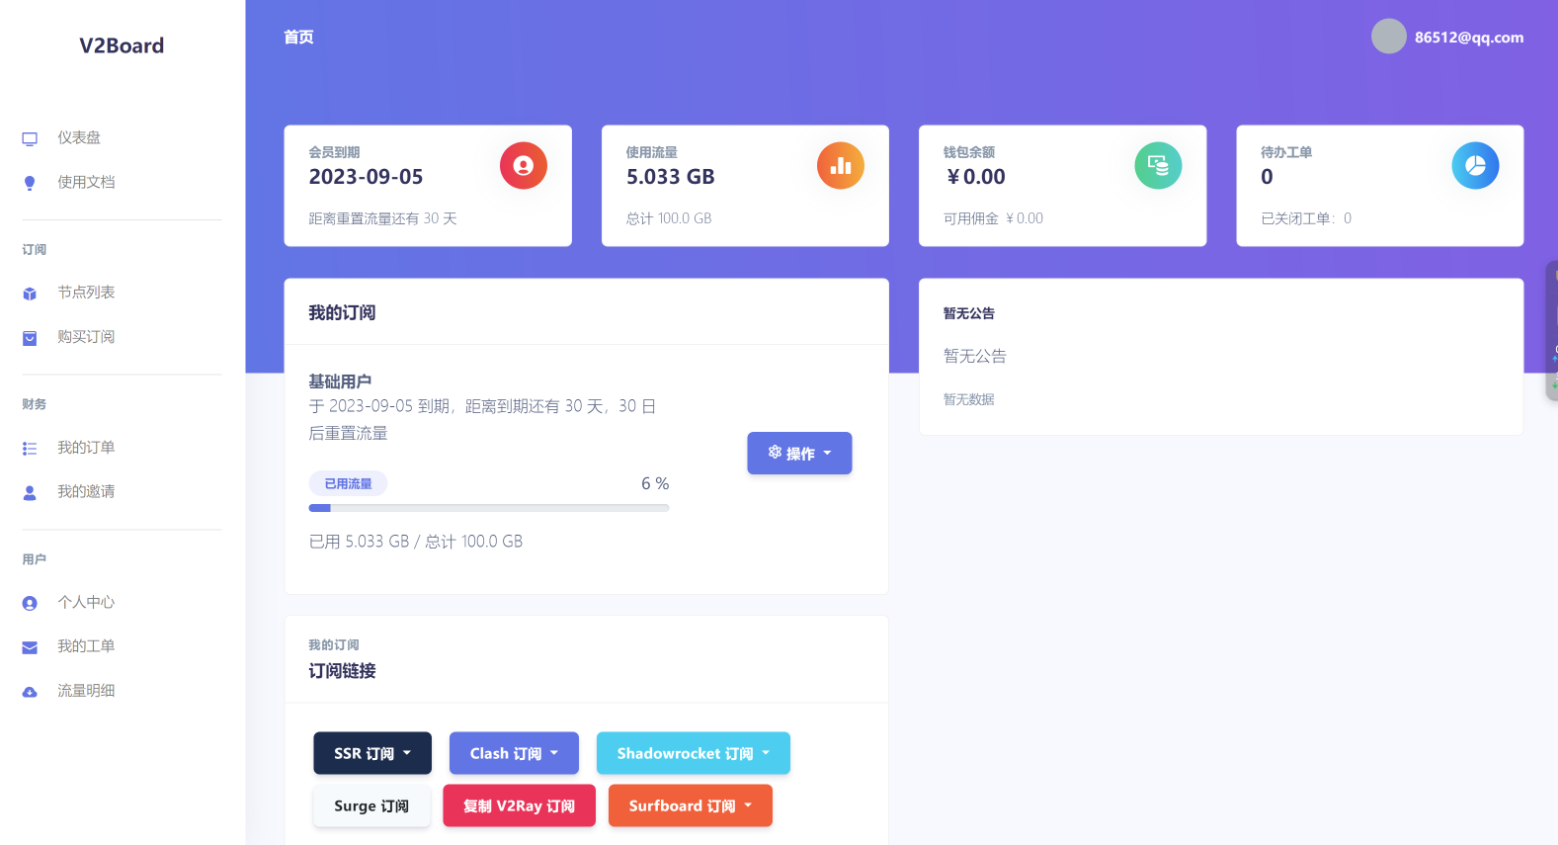


![圖片[1]-V2board搭建教程:快速搭建+節(jié)點(diǎn)對接](http://www.oilmaxhydraulic.com.cn/wp-content/uploads/2023/08/d2b5ca33bd134032-1024x555.png)
寶塔安裝v2b
環(huán)境要求:自行百度安裝,或通過寶塔安裝,Nginx,MySQL 5.6,PHP 7.4
需額外安裝兩個(gè)擴(kuò)展:
Redis、fileinfo解除PHP函數(shù)限制,需解除四個(gè)禁用函數(shù):
putenv、proc_open、pcntl_alarm、pcntl_signal創(chuàng)建網(wǎng)站目錄并刪除目錄下自動生成的所有文件
在ssh進(jìn)入網(wǎng)站目錄
cd /www/wwwroot/網(wǎng)站目錄/克隆V2Board項(xiàng)目:
git clone https://github.com/v2board/v2board.git ./依賴下載:
wget https://getcomposer.org/download/1.9.0/composer.phar
php composer.phar config repo.packagist composer https://mirrors.aliyun.com/composer/
php composer.phar install
安裝V2Board面板:
php artisan v2board:install配置站點(diǎn)目錄及偽靜態(tài)
設(shè)置站點(diǎn)運(yùn)行目錄為
/public設(shè)置站點(diǎn)偽靜態(tài)
location /downloads {
}

location / {
    try_files $uri $uri/ /index.php$is_args$query_string;
}

location ~ .*\.(js|css)?$
{
    expires      1h;
    error_log off;
    access_log /dev/null;
}
配置計(jì)劃任務(wù)和啟動隊(duì)列服務(wù)
計(jì)劃任務(wù)
(Cron) -> Shell腳本1分鐘運(yùn)行一次:
php /www/wwwroot/網(wǎng)站目錄/artisan schedule:run軟件商店 -> Supervisor管理器
運(yùn)行用戶:
www運(yùn)行目錄:
/www/wwwroot/網(wǎng)站/命令:
php artisan horizon網(wǎng)站目錄權(quán)限重新設(shè)置755
致此寶塔安裝V2Board完畢
主題
附件下載里提供一個(gè)Bob-Theme-Argon主題(文章圖片的主題)
解壓到
/public/theme/目錄下如果Gravatar頭像經(jīng)常加載不出來,可以更換地址
路徑為
/app/Http/Controllers/User/UserController.php替換為https://sdn.geekzu.org/avatar/
節(jié)點(diǎn)安裝
一鍵安裝 更新
bash <(curl -Ls https://raw.githubusercontent.com/XrayR-project/XrayR-release/master/install.sh)將域名托管到cloudflared
同步時(shí)間(重要)
v2ray 節(jié)點(diǎn)需要進(jìn)行時(shí)間同步,時(shí)間若與客戶端相差太大則無法連接
CentOS 7
yum install -y ntp
systemctl enable ntpd
ntpdate -q 0.rhel.pool.ntp.org
systemctl restart ntpd
第一步,在面板添加一個(gè)節(jié)點(diǎn)
后臺 >節(jié)點(diǎn)管理 >添加節(jié)點(diǎn) 節(jié)點(diǎn)名稱:隨便填什么 權(quán)限組:隨便填什么 節(jié)點(diǎn)地址:填cf的ip或者偽裝的域名
TLS:偽裝的域名
端口:443
傳輸協(xié)議:選擇websocket
配置協(xié)議
{
"path": "/隨便",
"headers": {
"Host": "偽裝的域名"
}
}第二步,配置 XrayR
第一次安裝完成后,編輯配置文件:
配置文件位置在
/etc/XrayR/config.yml基礎(chǔ)配置
Log:
  Level: warning # Log level: none, error, warning, info, debug
  AccessPath: # /etc/XrayR/access.Log
  ErrorPath: # /etc/XrayR/error.log
DnsConfigPath: # /etc/XrayR/dns.json # Path to dns config, check https://xtls.github.io/config/dns.html for help
RouteConfigPath: #/etc/XrayR/route.json # Path to route config, check https://xtls.github.io/config/routing.html for help
InboundConfigPath: #/etc/XrayR/custom_inbound.json # Path to custom inbound config, check https://xtls.github.io/config/inbound.html for help
OutboundConfigPath: #/etc/XrayR/custom_outbound.json # Path to custom outbound config, check https://xtls.github.io/config/outbound.html for help
ConnectionConfig:
  Handshake: 4 # Handshake time limit, Second
  ConnIdle: 30 # Connection idle time limit, Second
  UplinkOnly: 2 # Time limit when the connection downstream is closed, Second
  DownlinkOnly: 4 # Time limit when the connection is closed after the uplink is closed, Second
  BufferSize: 64 # The internal cache size of each connection, kB
Nodes:

  -
    PanelType: "NewV2board" ## 對接的面板類型: SSpanel, V2board, NewV2board, PMpanel, Proxypanel, V2RaySocks
    ApiConfig:
      ApiHost: "https://****.com"  ## 面板域名地址,或自定義個(gè)專用后端對接不提供訪問的域名
      ApiKey: "*****"   ## 面板設(shè)置的通訊密鑰
      NodeID: 1  ## 前端節(jié)點(diǎn)id
      NodeType: V2ray  ## 對接的節(jié)點(diǎn)類型:可選V2ray, Shadowsocks, Trojan
      Timeout: 30 # Timeout for the api request
      EnableVless: false # Enable Vless for V2ray Type
      EnableXTLS: false # Enable XTLS for V2ray and Trojan
      SpeedLimit: 0 # Mbps, Local settings will replace remote settings
      DeviceLimit: 0 # Local settings will replace remote settings
    ControllerConfig:
      ListenIP: 0.0.0.0 # IP address you want to listen
      UpdatePeriodic: 100 # Time to update the nodeinfo, how many sec.

      CertConfig:
        CertMode: dns # Option about how to get certificate: none, file, http, dns. Choose "none" will forcedly disable the tls config.
        CertDomain: "***.com" # 偽裝的域名
        Provider: cloudflare # DNS cert provider, Get the full support list here: https://go-acme.github.io/lego/dns/
        Email: test@me.com
        DNSEnv: # DNS ENV option used by DNS provider
          CLOUDFLARE_EMAIL: test@me.com        ##CF登錄郵箱
          CLOUDFLARE_API_KEY: 57b4d8ec82ec3e    ##CF全局api
第三步啟動 XrayR
xrayr start系統(tǒng)級操作
centos打開端口的方法
關(guān)閉防火墻(重啟后永久生效):
chkconfig iptables off使用以下命令可以禁用CentOS的防火墻:
systemctl disable firewalld打開某個(gè)端口(以443為例)
開啟端口
iptables -A INPUT -p tcp --dport 443 -j ACCEPT保存并重啟防火墻
/etc/rc.d/init.d/iptables save
/etc/init.d/iptables restart
打開49152~65534之間的端口
iptables -A INPUT -p tcp --dport 49152:65534 -j ACCEPT
同樣,這里需要對設(shè)置進(jìn)行保存,并重啟防火墻。
致此所有步驟均已完成。
最后說一下,這里有很多的坑,要自己慢慢的去體會。原諒我這種東西不能出視頻教程。
正所謂師傅領(lǐng)進(jìn)門,修行在個(gè)人。加油!


- 最新
- 最熱
只看作者